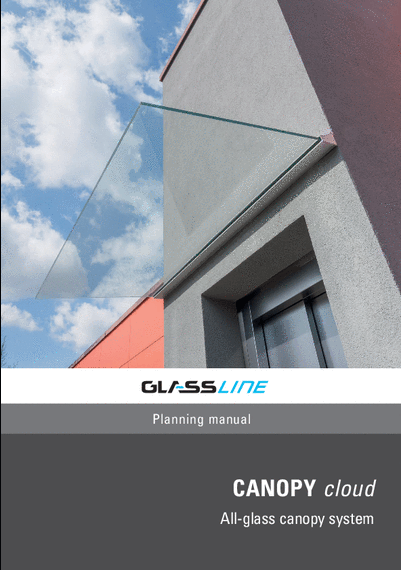
CANOPY cloud

CANOPY cloud
SYSTEM FEATURES
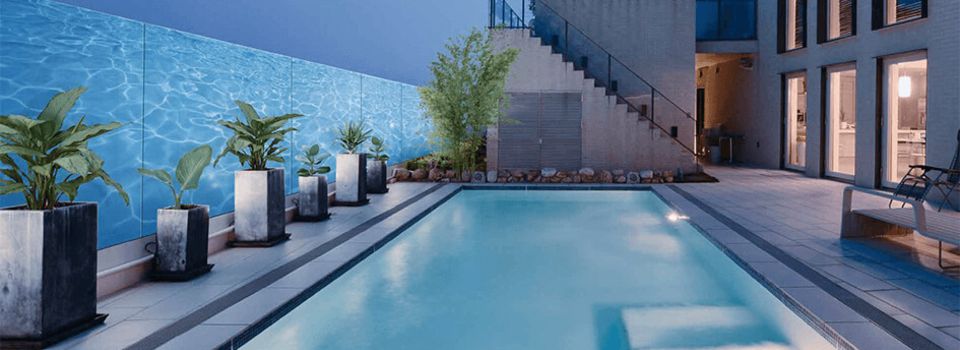
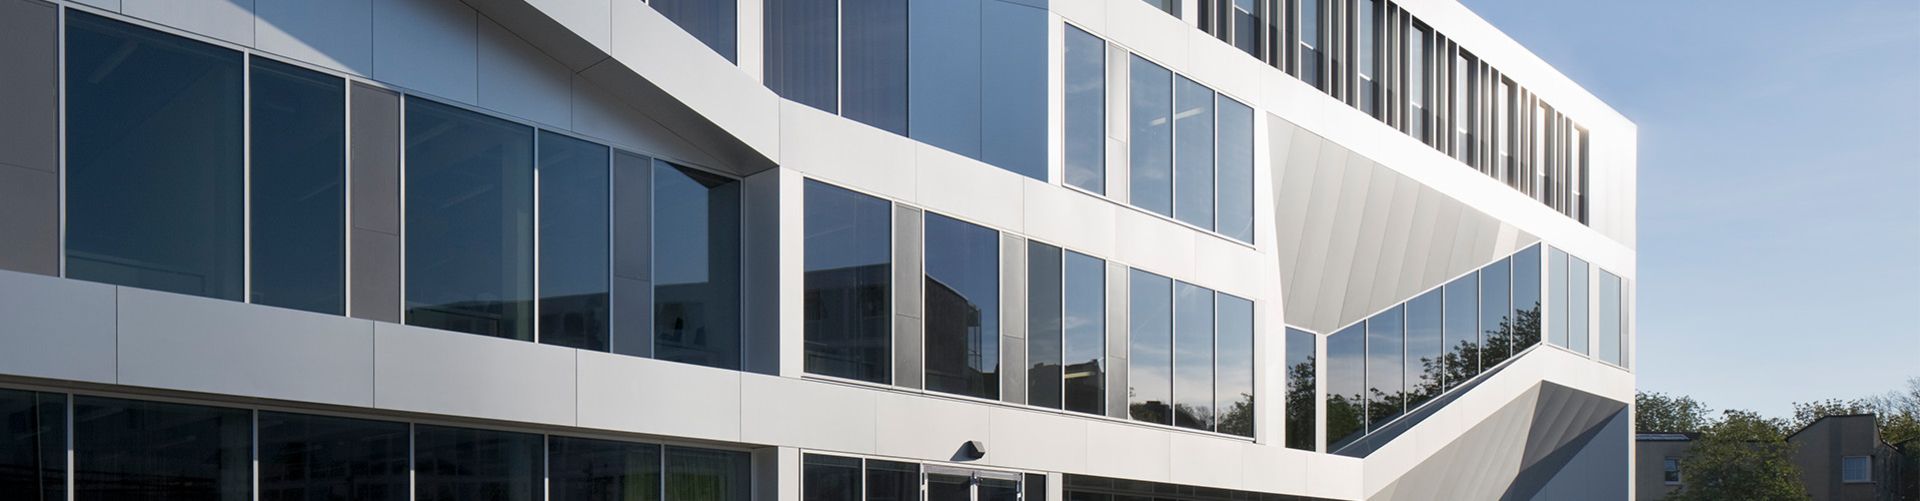
A precisely machined, elegant design profile and a large sheet of glass, with no obtrusive bracing mean that CANOPY cloud covers the requirements of architects, homeowners and tradespeople alike. With its subtle design, it fits seamlessly into all kinds of architecture and provides the freedom to create individual house entrances without having to take into account other visible parts of the construction.
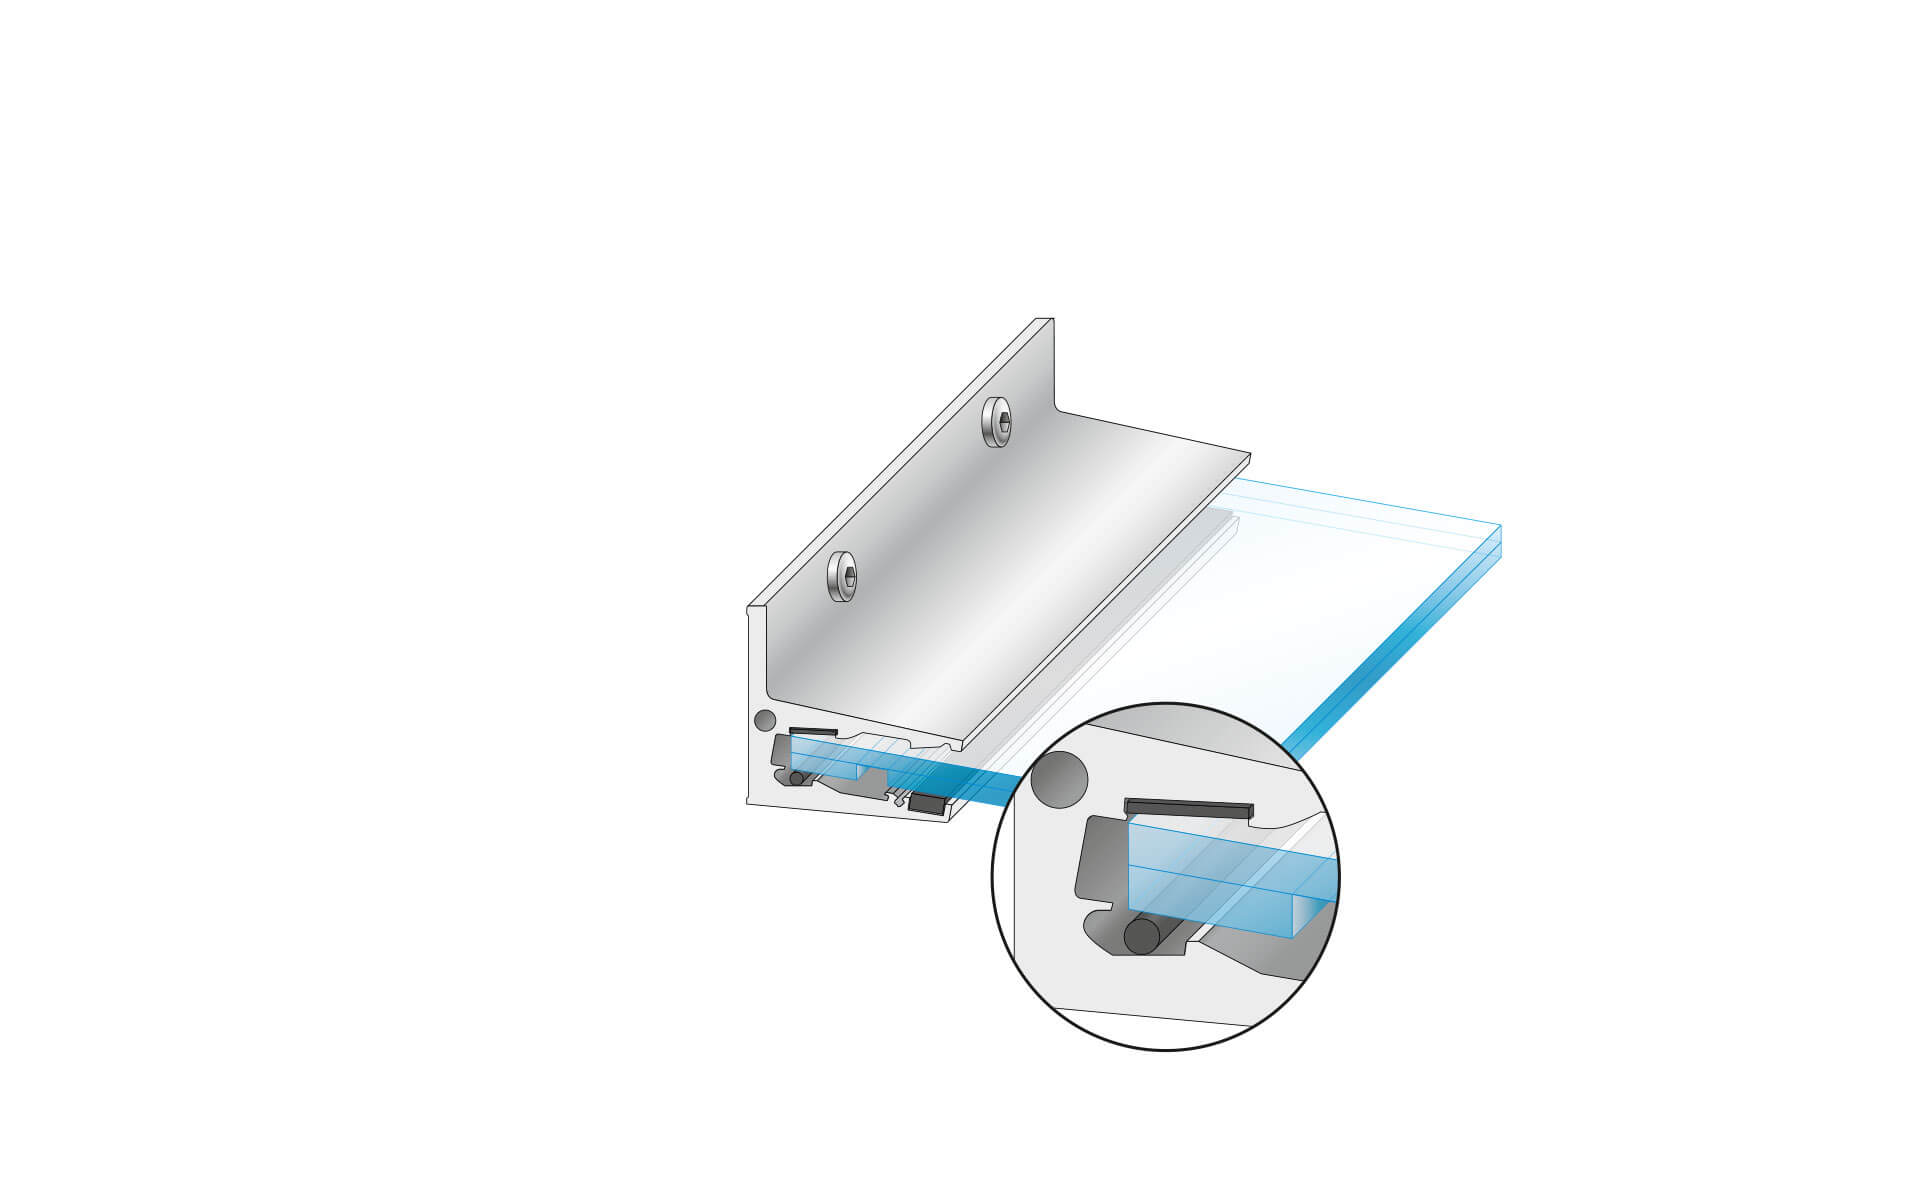
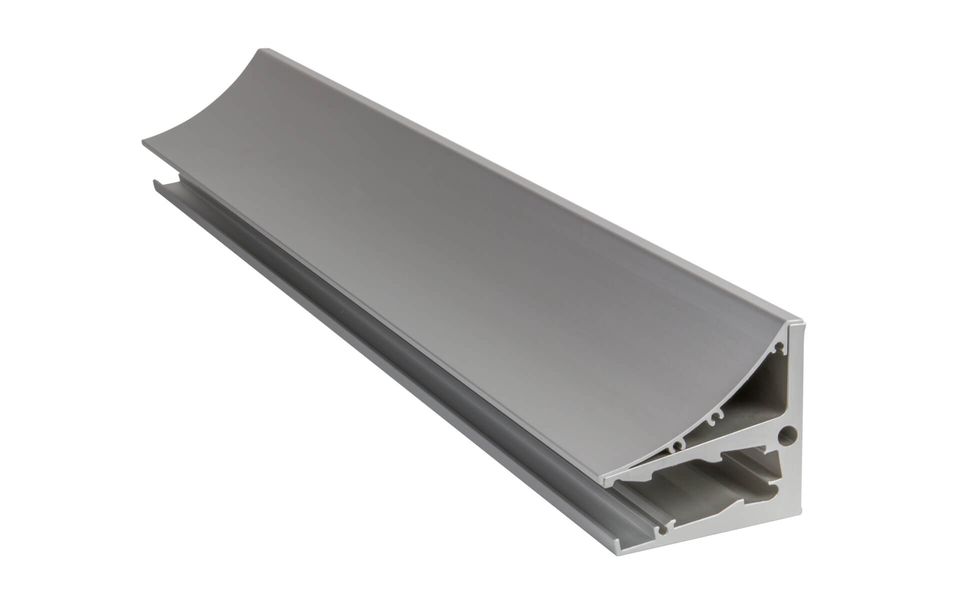
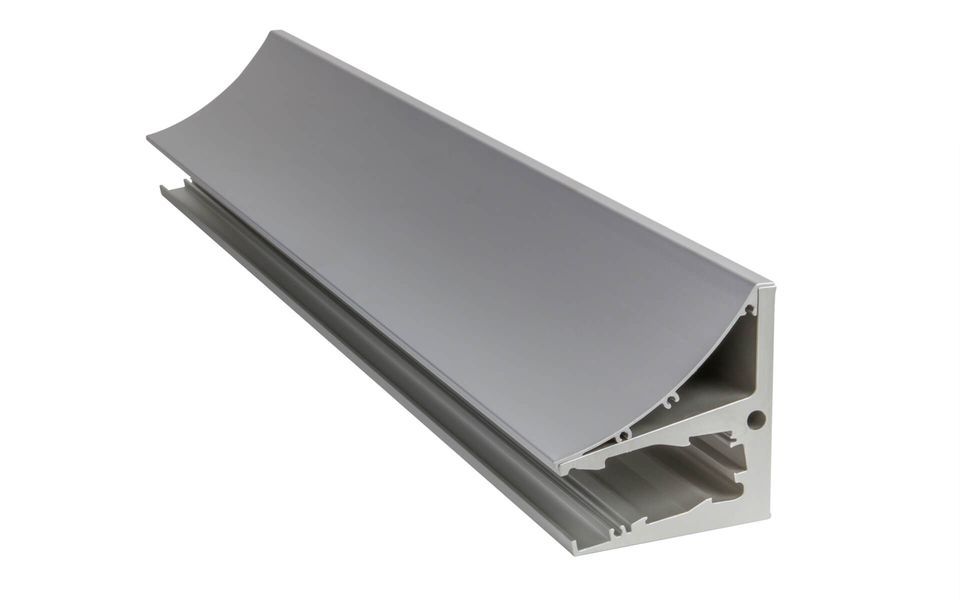
The CANOPY cloud clamping profile is made from high-grade aluminium and provides a linear mounting support for the glass pane. Custom profile dimensions and surface colours leave little to be desired.
The three profile types are available with stainless steel effect E6EV1, RAL or special colours, or with an untreated surface.


Another advantage of GLASSLINE canopy systems is our stock range, which enables our glass canopies to be delivered promptly, thereby eliminating long delivery times for you.
PROFILE TYPE 1
Roof dimensions (W x D):
1400 x 900 mm
1600 x 1100 mm
2000 x 1100 mm
2400 x 1100 mm
Pitch: 10°
Surface: E6EV1 anodised
PROFILE TYPE 3
Roof dimensions (W x D):
2400 x 1300 mm
2800 x 1300 mm
Pitch: 10°
Surface: E6EV1 anodised
We also offer an LED strip for illuminating your CANOPY cloud all-glass canopy:LED stripPCB: Flexible PCB track with adhesive tapeVoltage: 24 V DCPower: 14.4 W/mLED type: SMD5050Number of LEDs: 60 pc./mLumen/LED: 18-20 lmSeparability: All LEDs or every 10 cmColour temperature: 6000 K +/- 100 KDimensions: 10 x 2 mm (W x H)Degree of protection: IP65Cable length: 1 mPieces per pack: 2.5 m roll or 6.0 m rollEnergy efficiency class: A+Certificates: CE, RoHs
Note:The transformer for the LED strip has a 1 m supply cable. This means that the transformer can be connected indoors. The transformer must only be used in dry conditions.
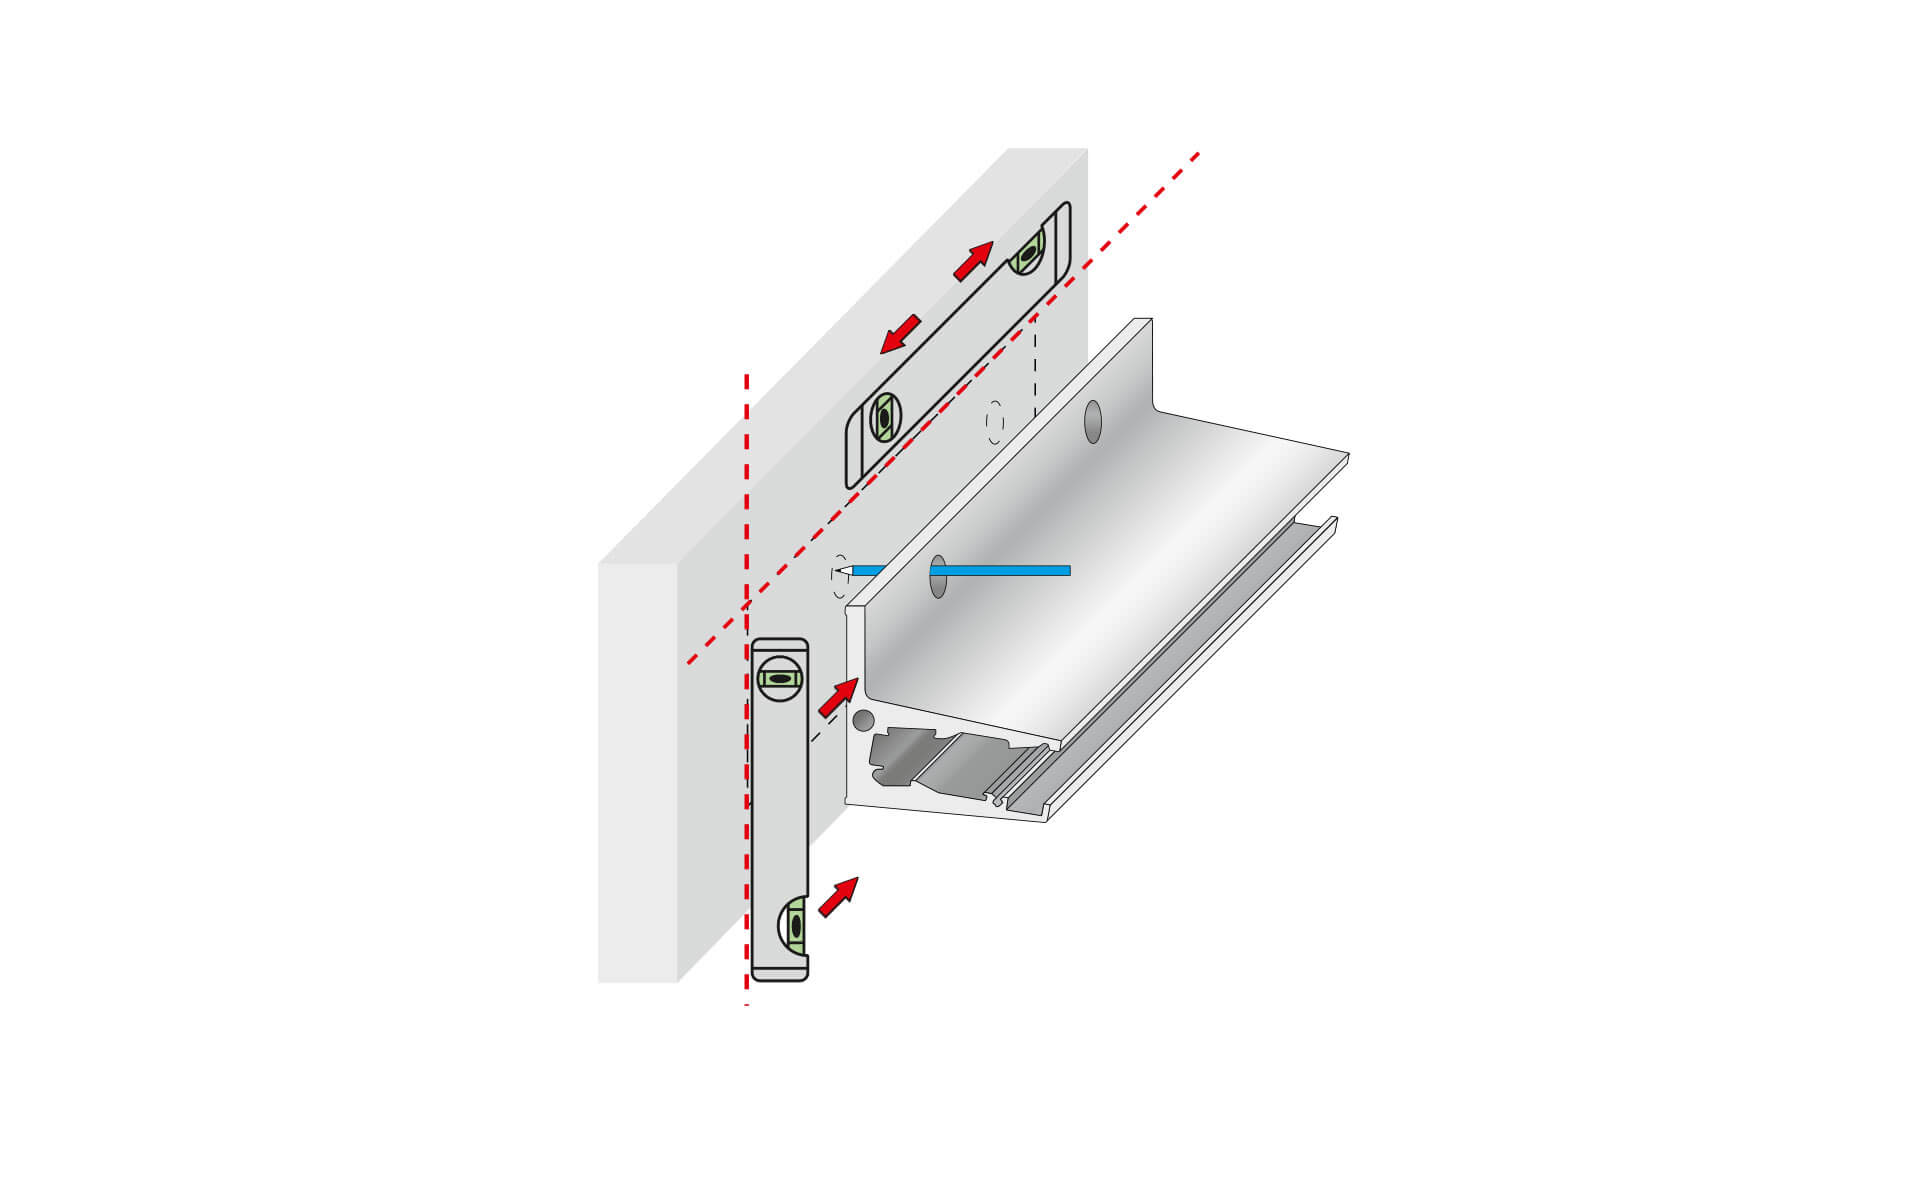
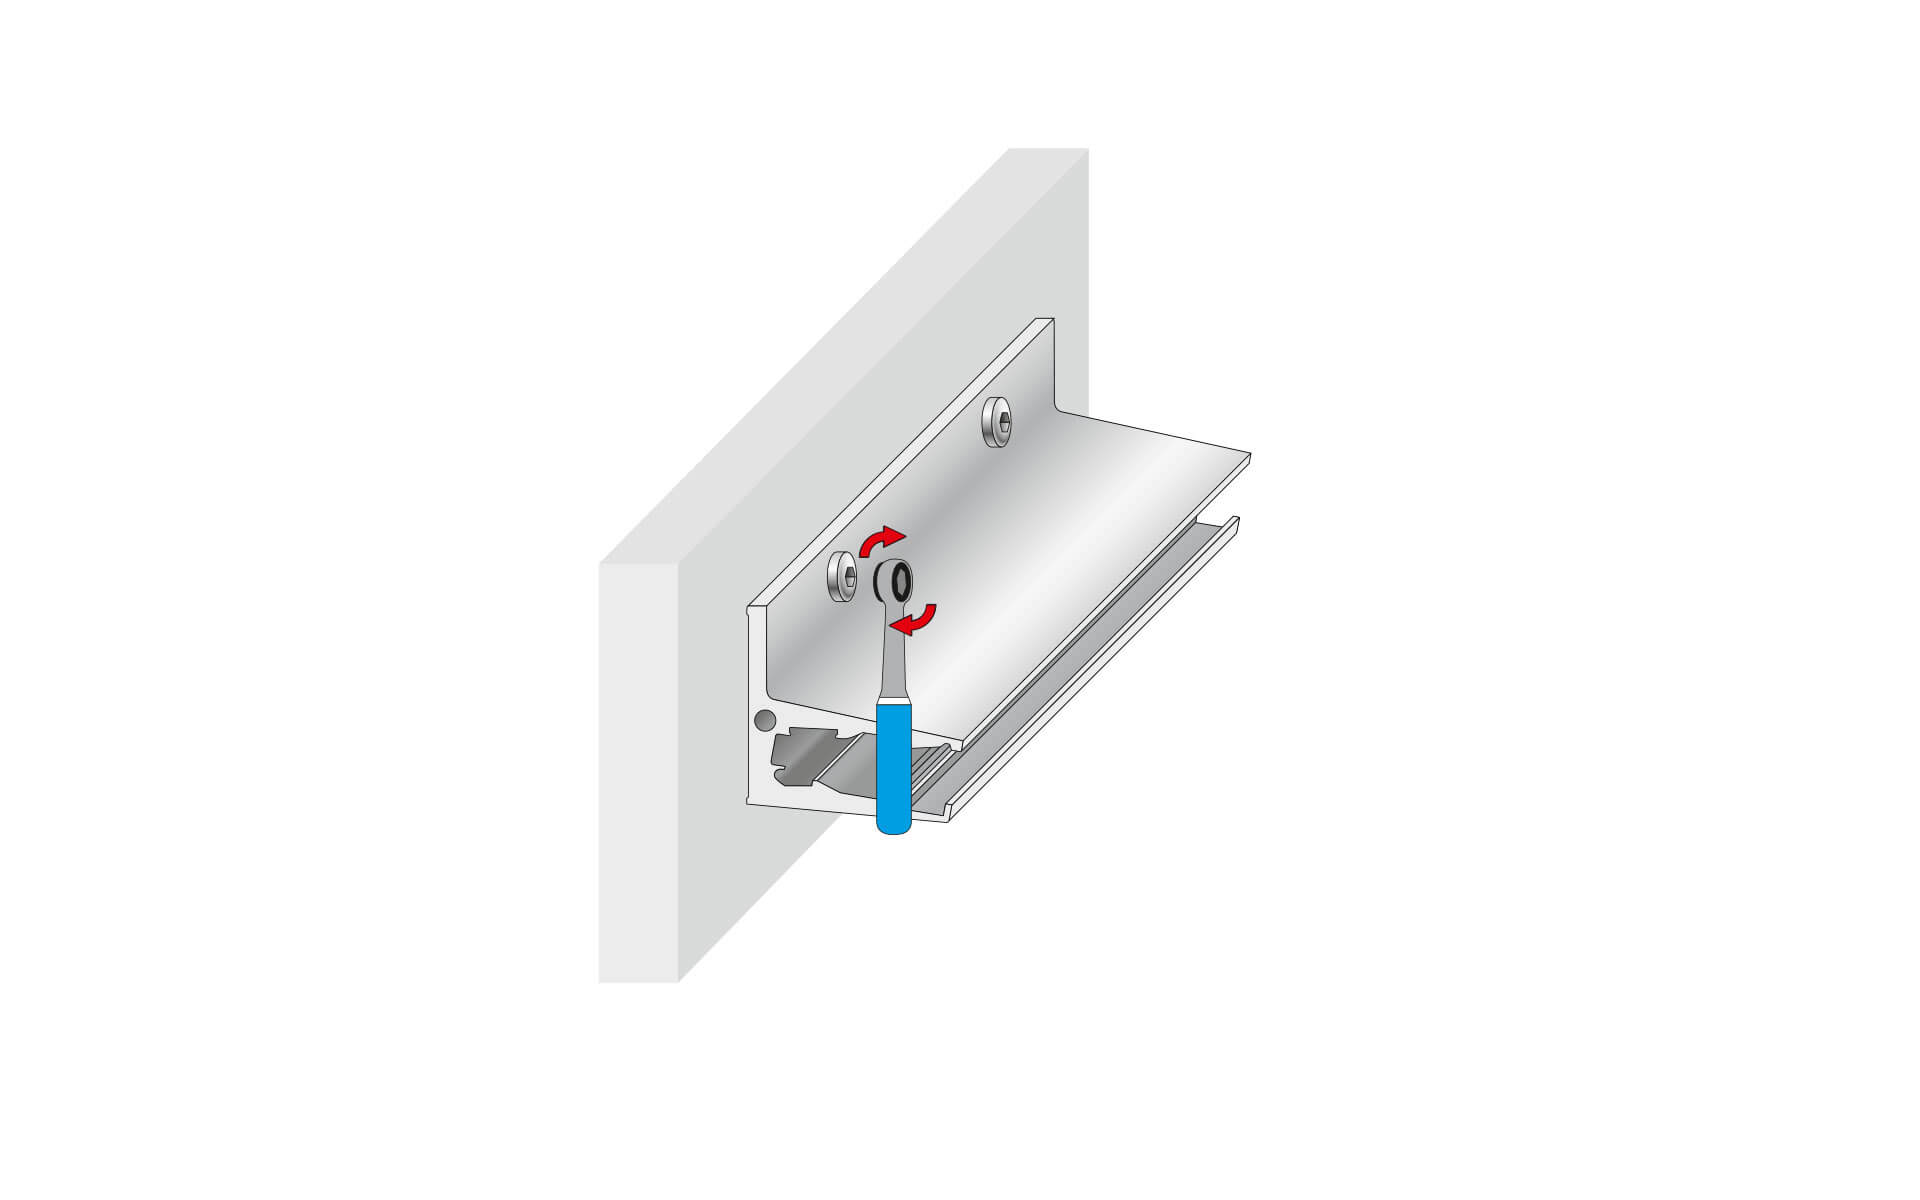
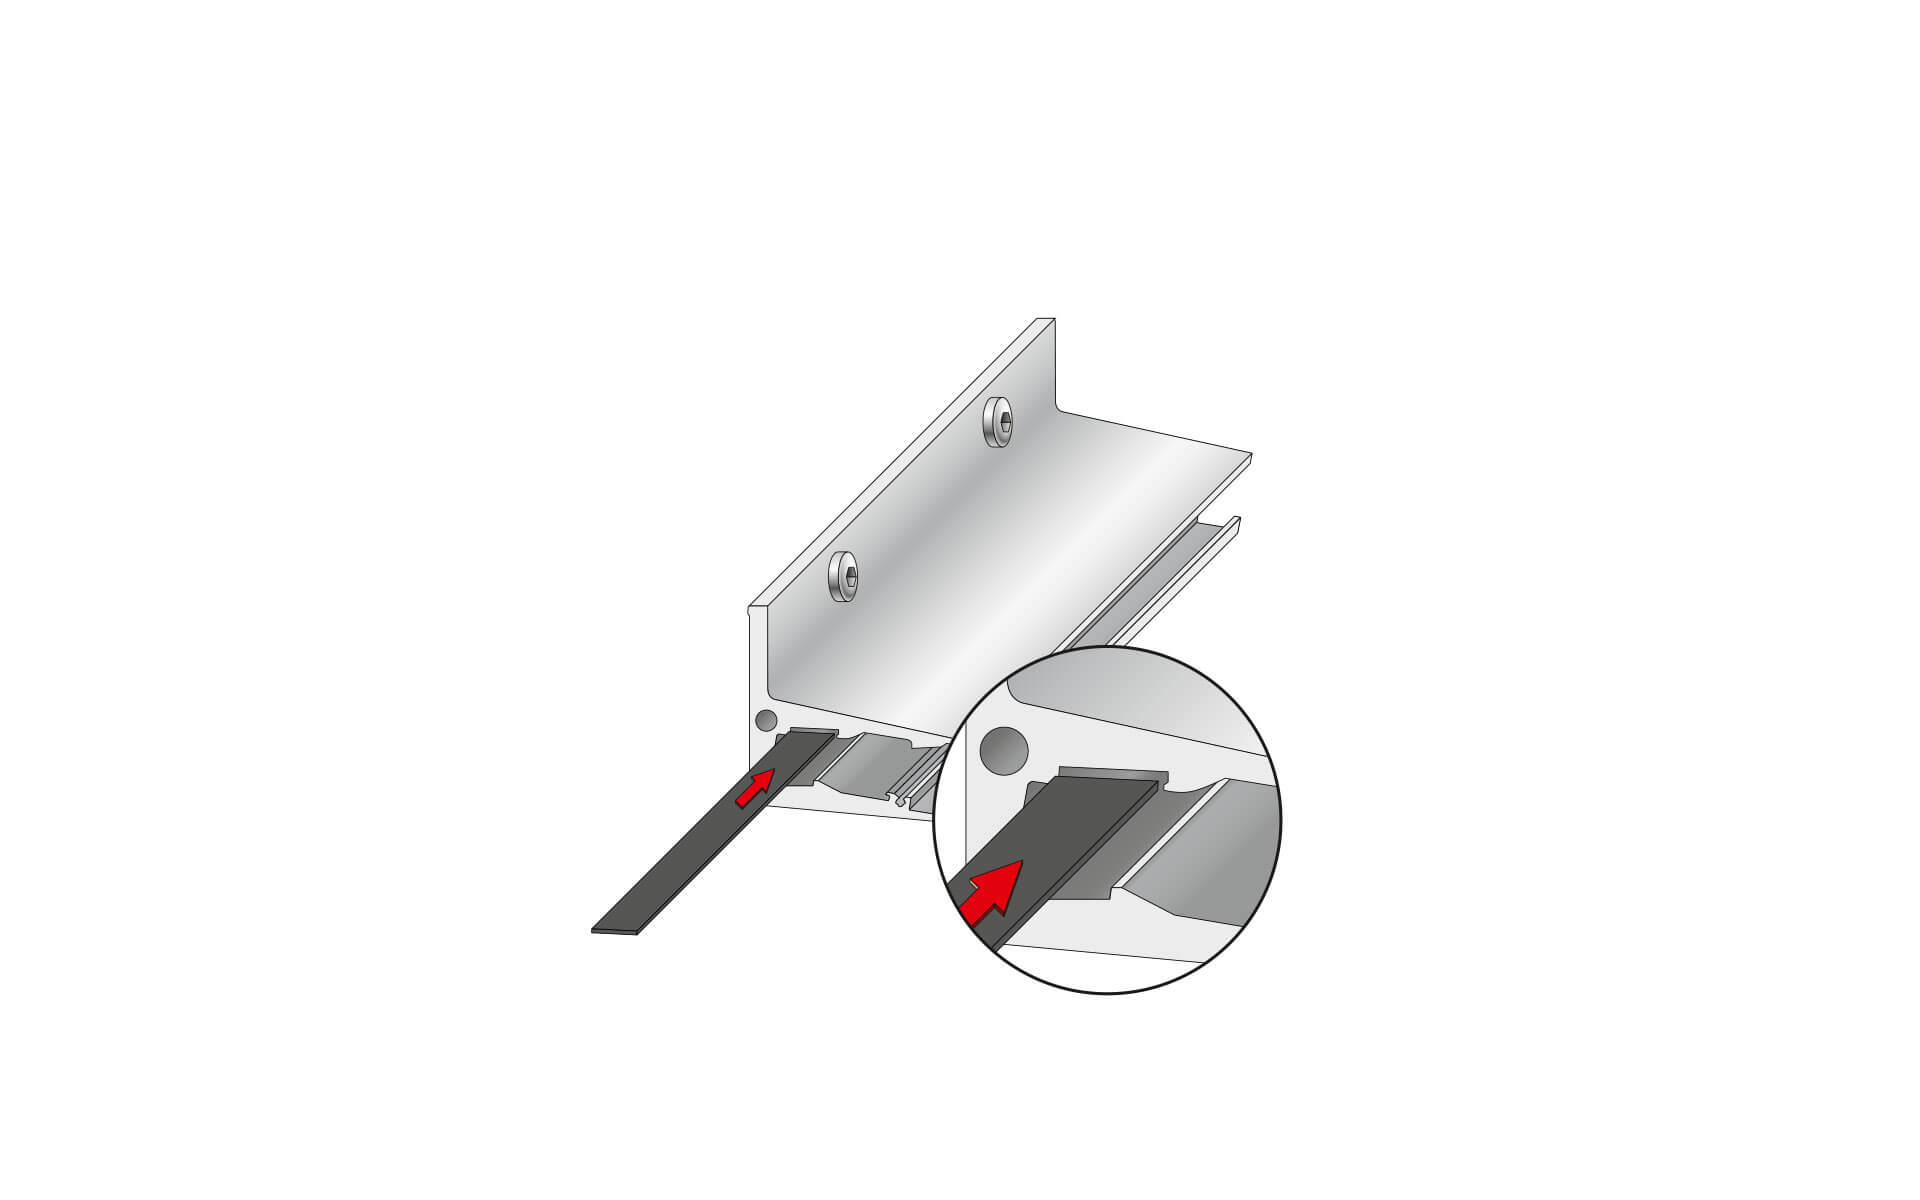
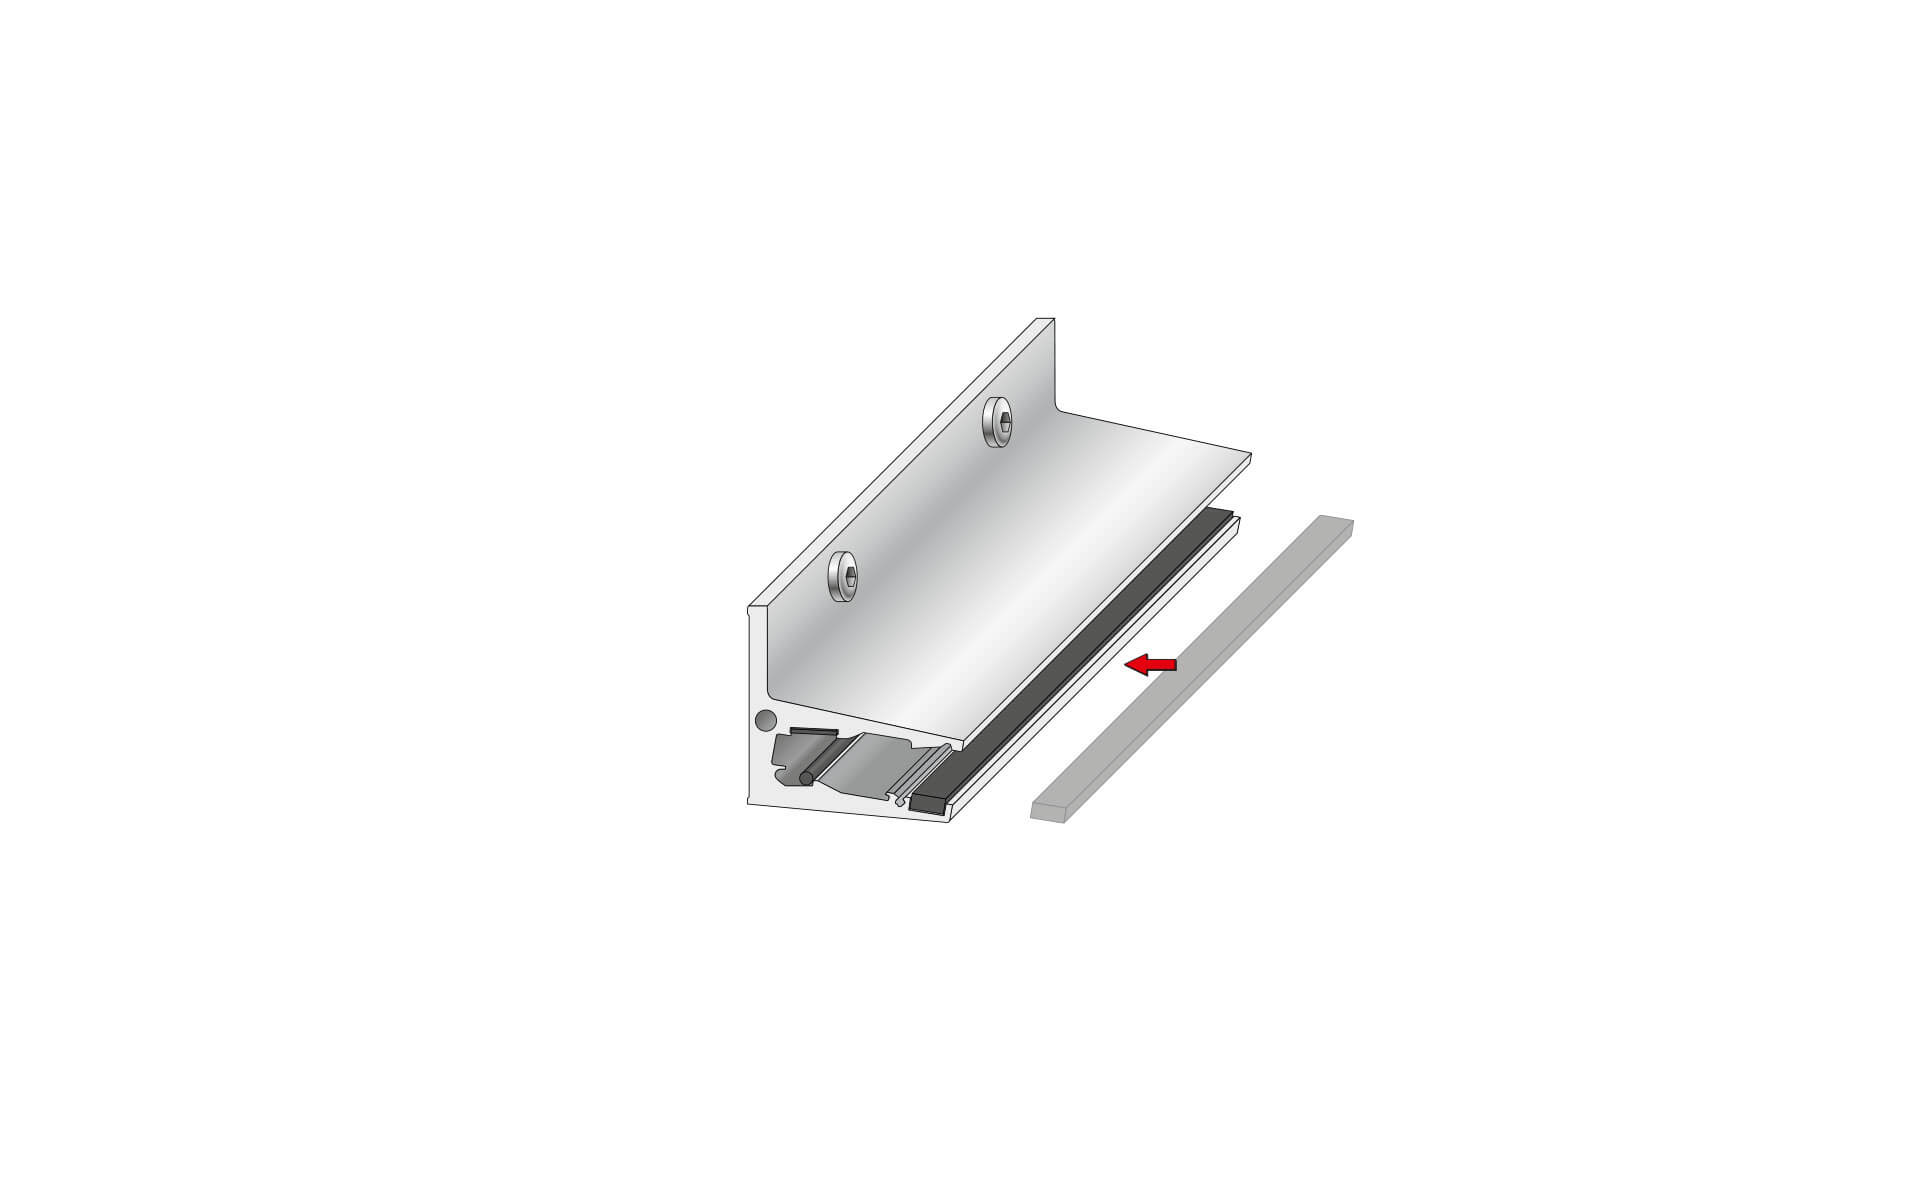
QUICK AND EASY: CANOPY CLOUD INSTALLATION
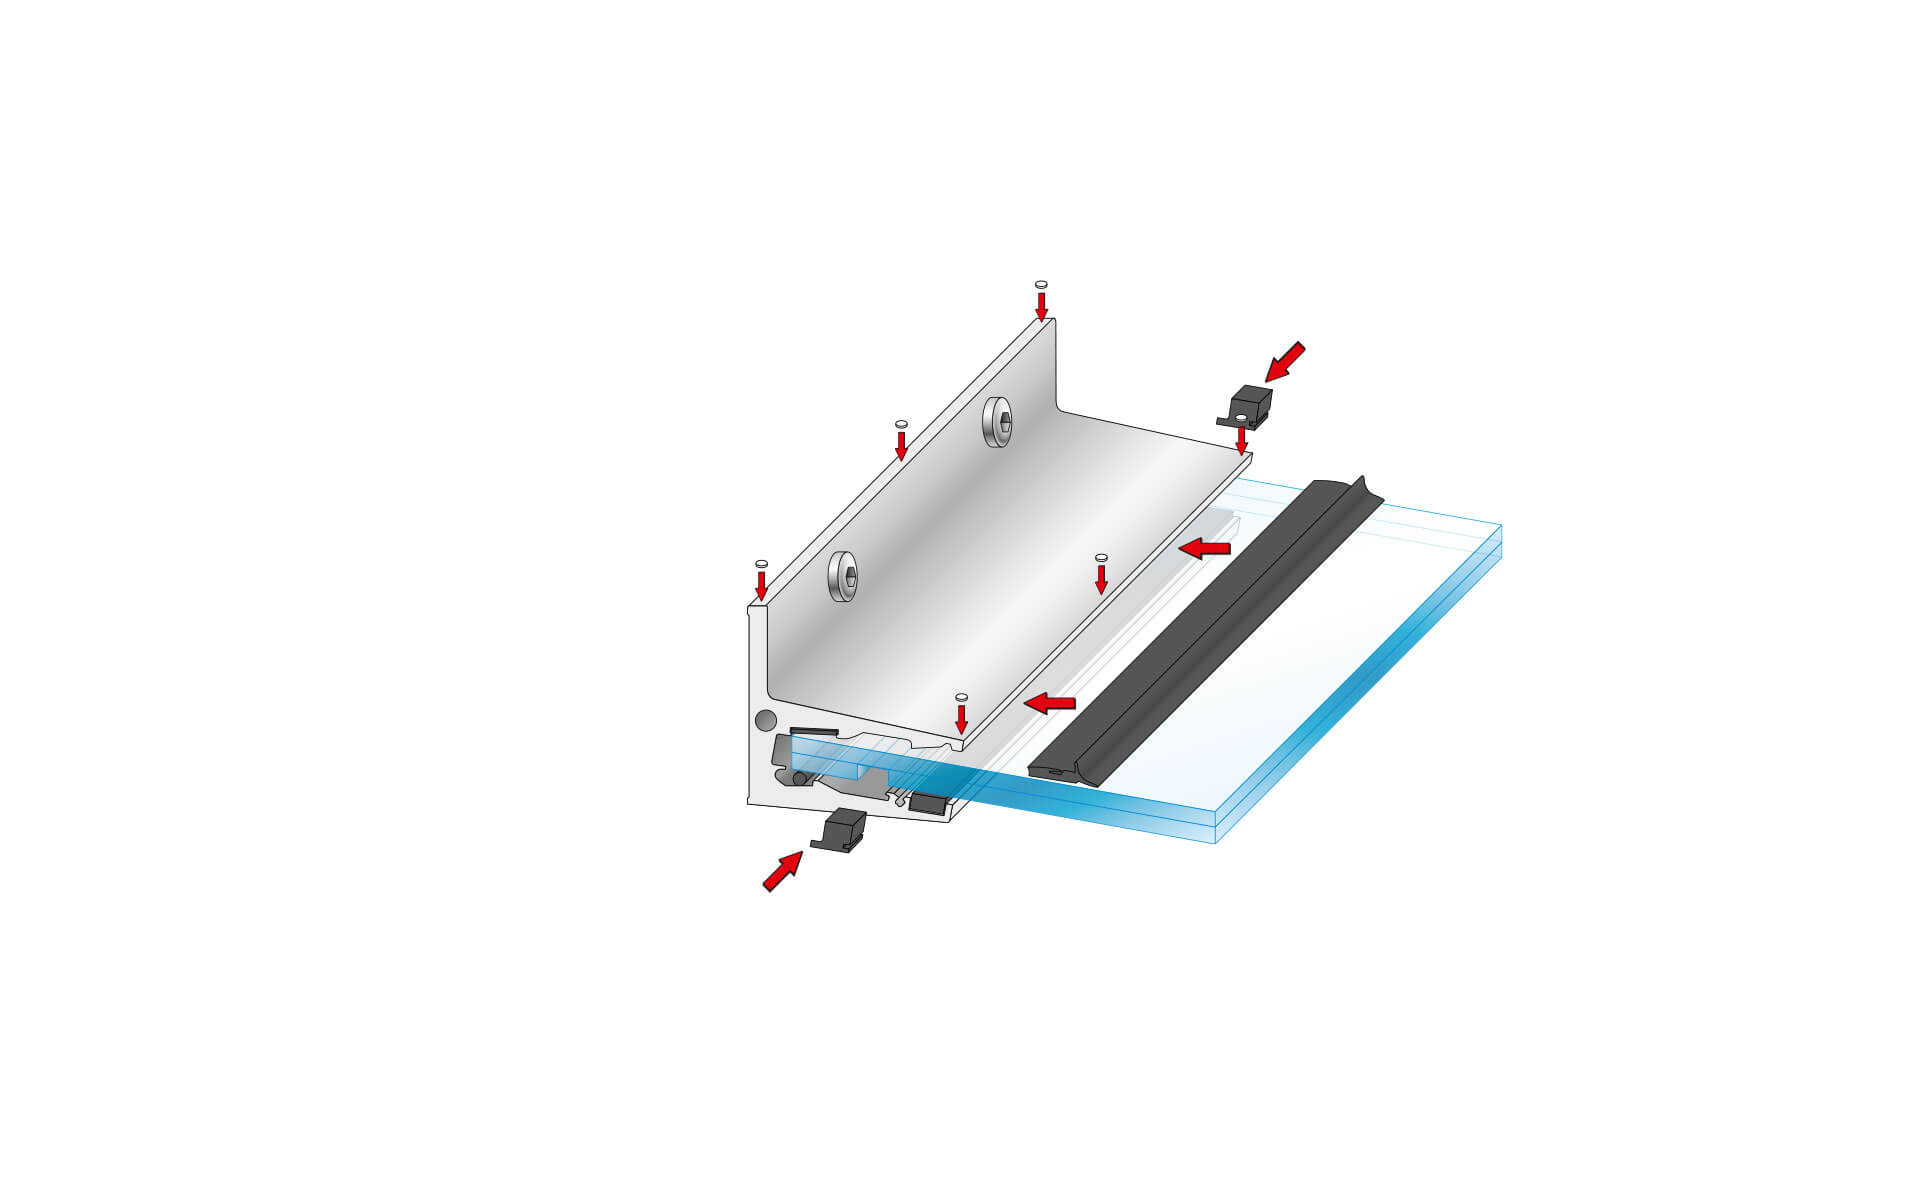
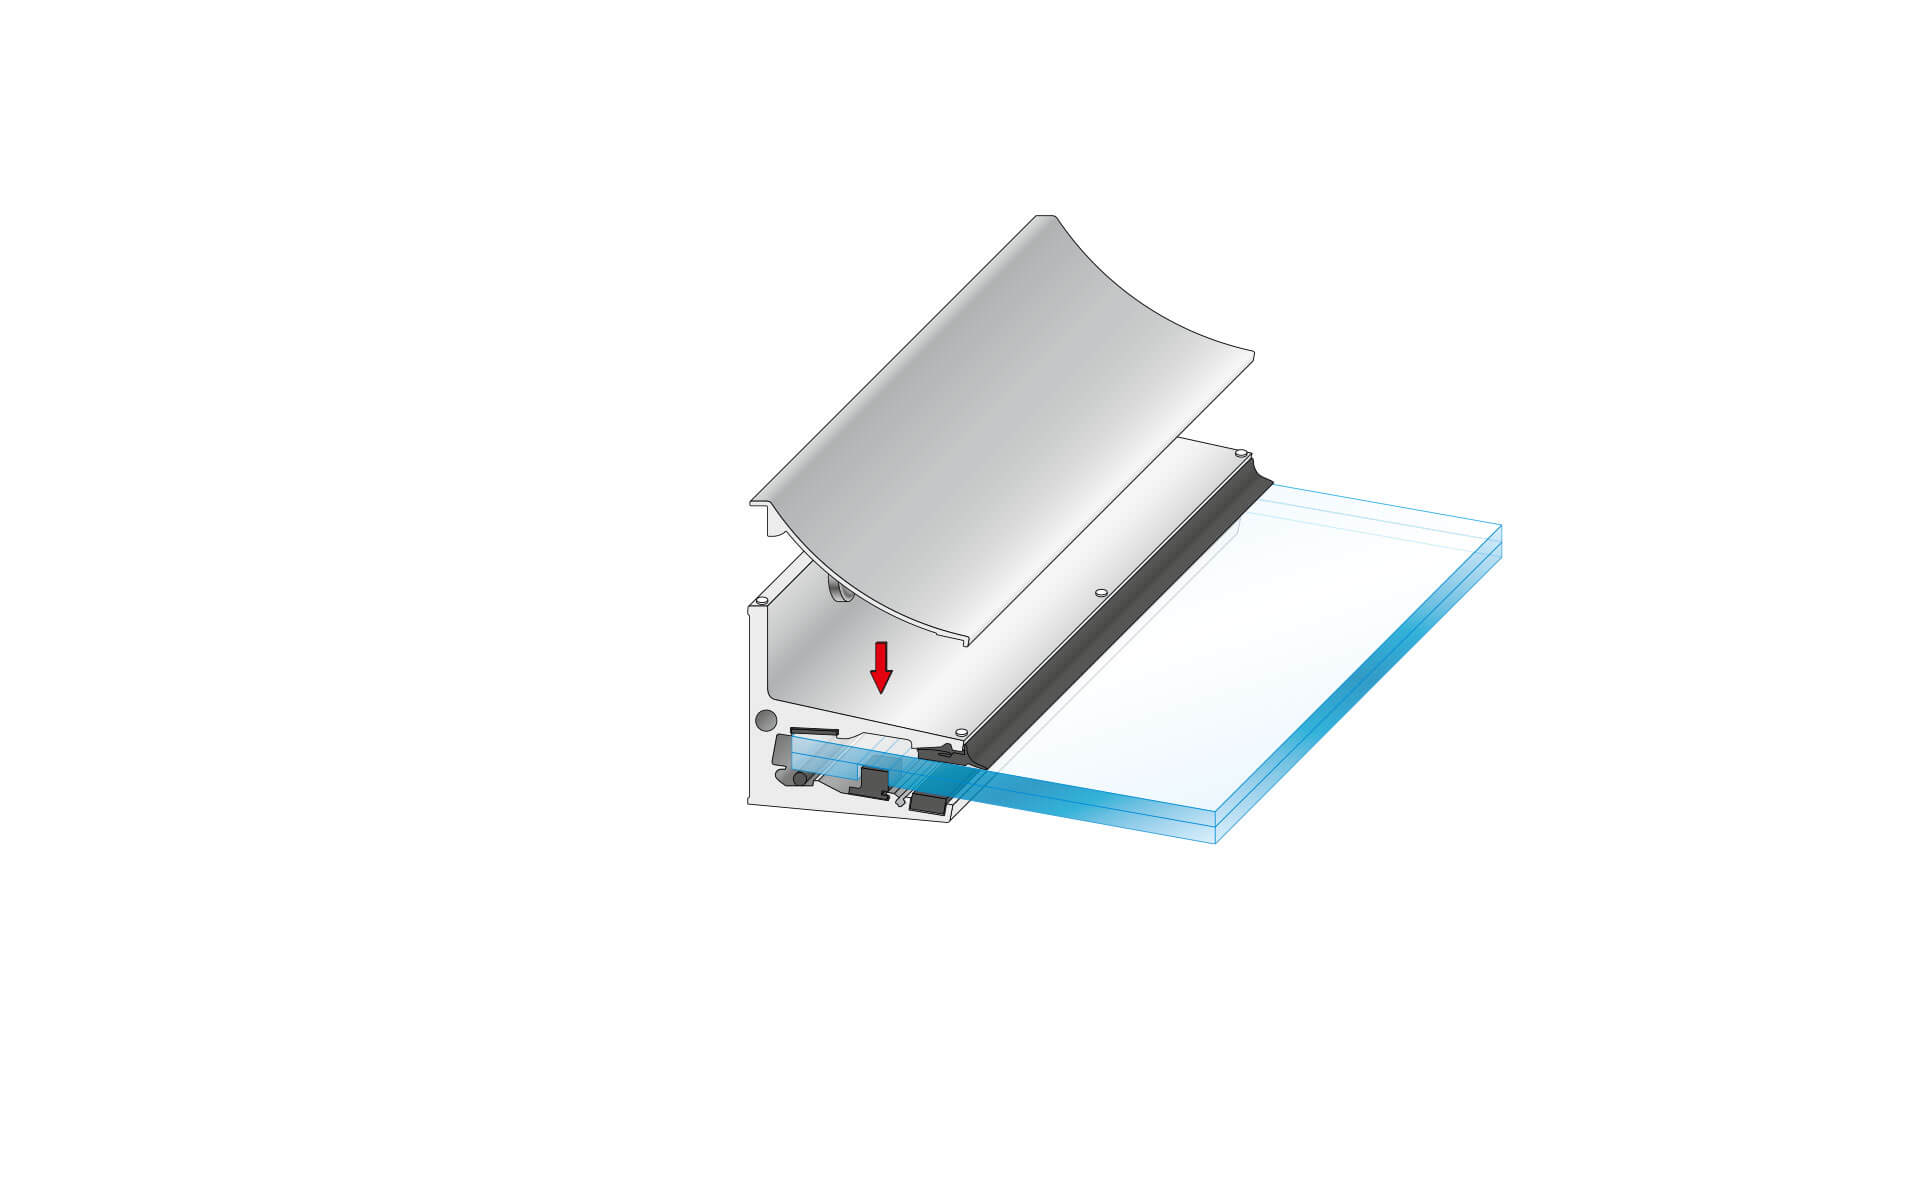
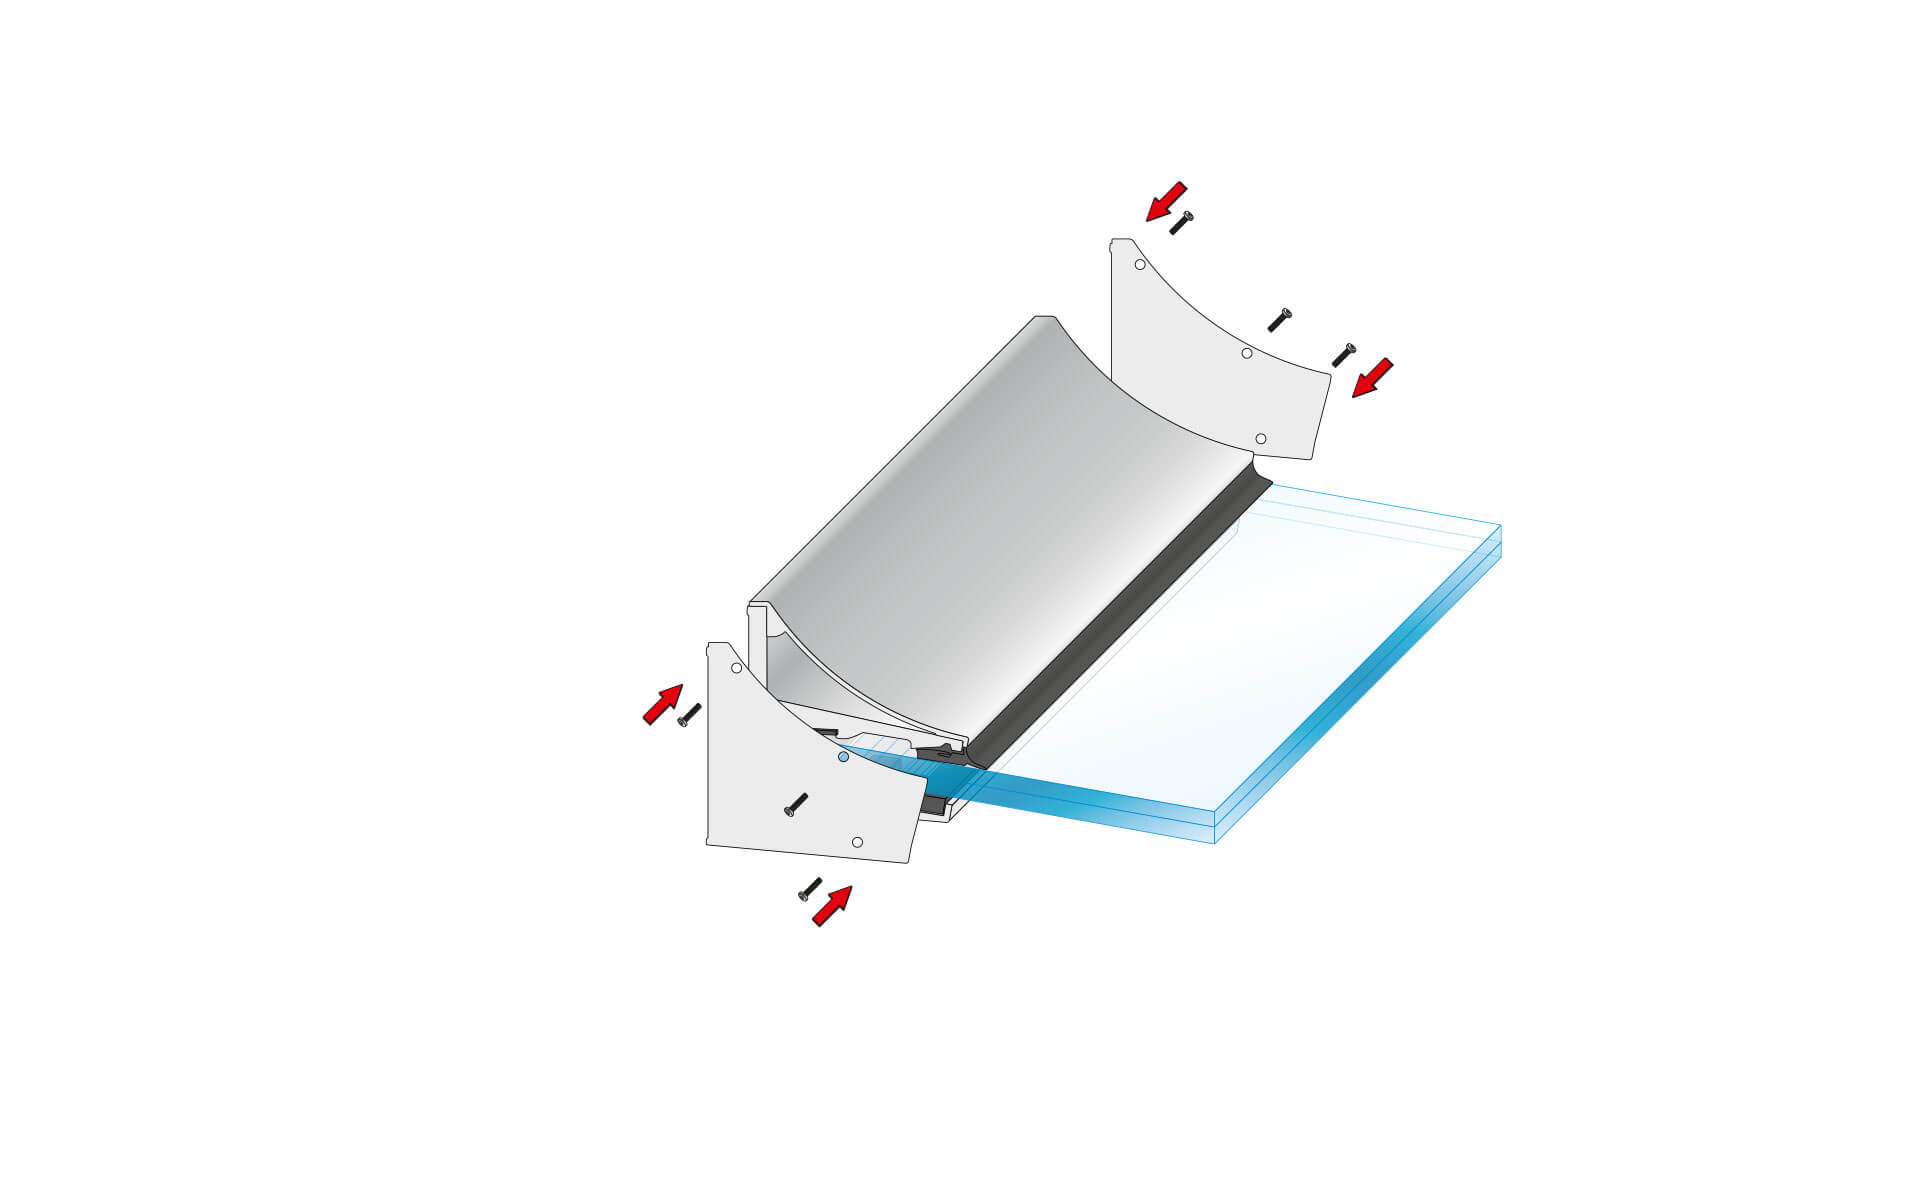
The installation principle of the CANOPY cloud all-glass canopy system is revolutionary. Once the profile is attached to the substructure and the support strip and clamping rods have been fitted, the glass pane can be simply inserted into the profile and secured in place. By using a dry installation technique, CANOPY cloud is installed in no time at all.
Installation instructions